Using Staas.io to build Microsite in less than 15 minutes
As an Agency, you will probably need to create a Microsites for many reasons:
- Supporting a campaign for a given customer
- Collecting customer information
- Display services you an offer to clients
- Introducing a campaign that your company has take participant in and spread news throughout social networks
However, creating a Microsite can sometimes be a burden if you don’t have an IT team backup or you will need to make it in a short time.
Then let\'s see how can Staas.io help you save your time and resources when creating a Microsite in less than 15 minutes!
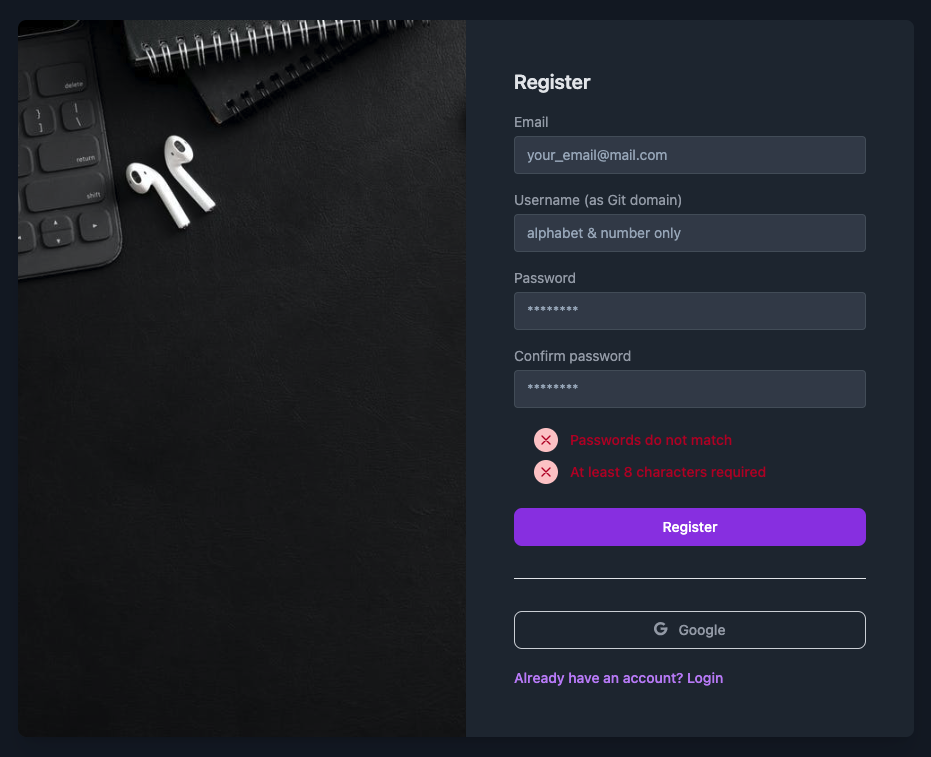
Step 1 - Log in to Staas.io site
If you don\'t have an account, click Register and fill in your Email, Username and Password information. Please notice that the password needs to be at least 8 characters long. Or to make it quicker, you can choose to create an account with your Google account.
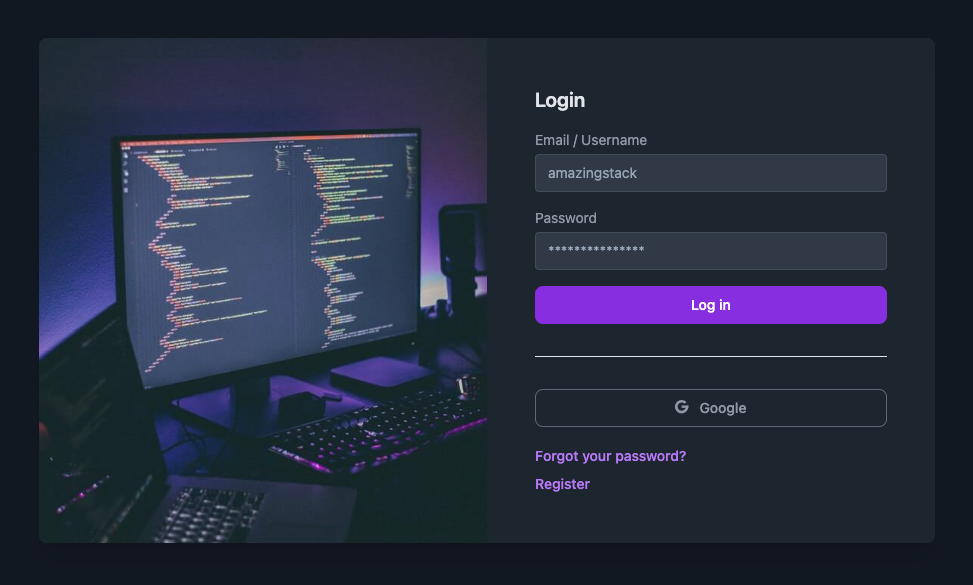
If you already have an account, log in to the site to access your stack.
Step 2 - Create Your Stack
Click Create new Stack and fill in information about your website.

For example, you need to build a microsite on the WordPress platform:
- Choose your Stack name, choose an easy-to-remember name to distinguish it from other stacks!
- Select type as WordPress, latest version
- Package: choose the package you want
- Region: The region of server on cloud, in the example, you can pick the ap2
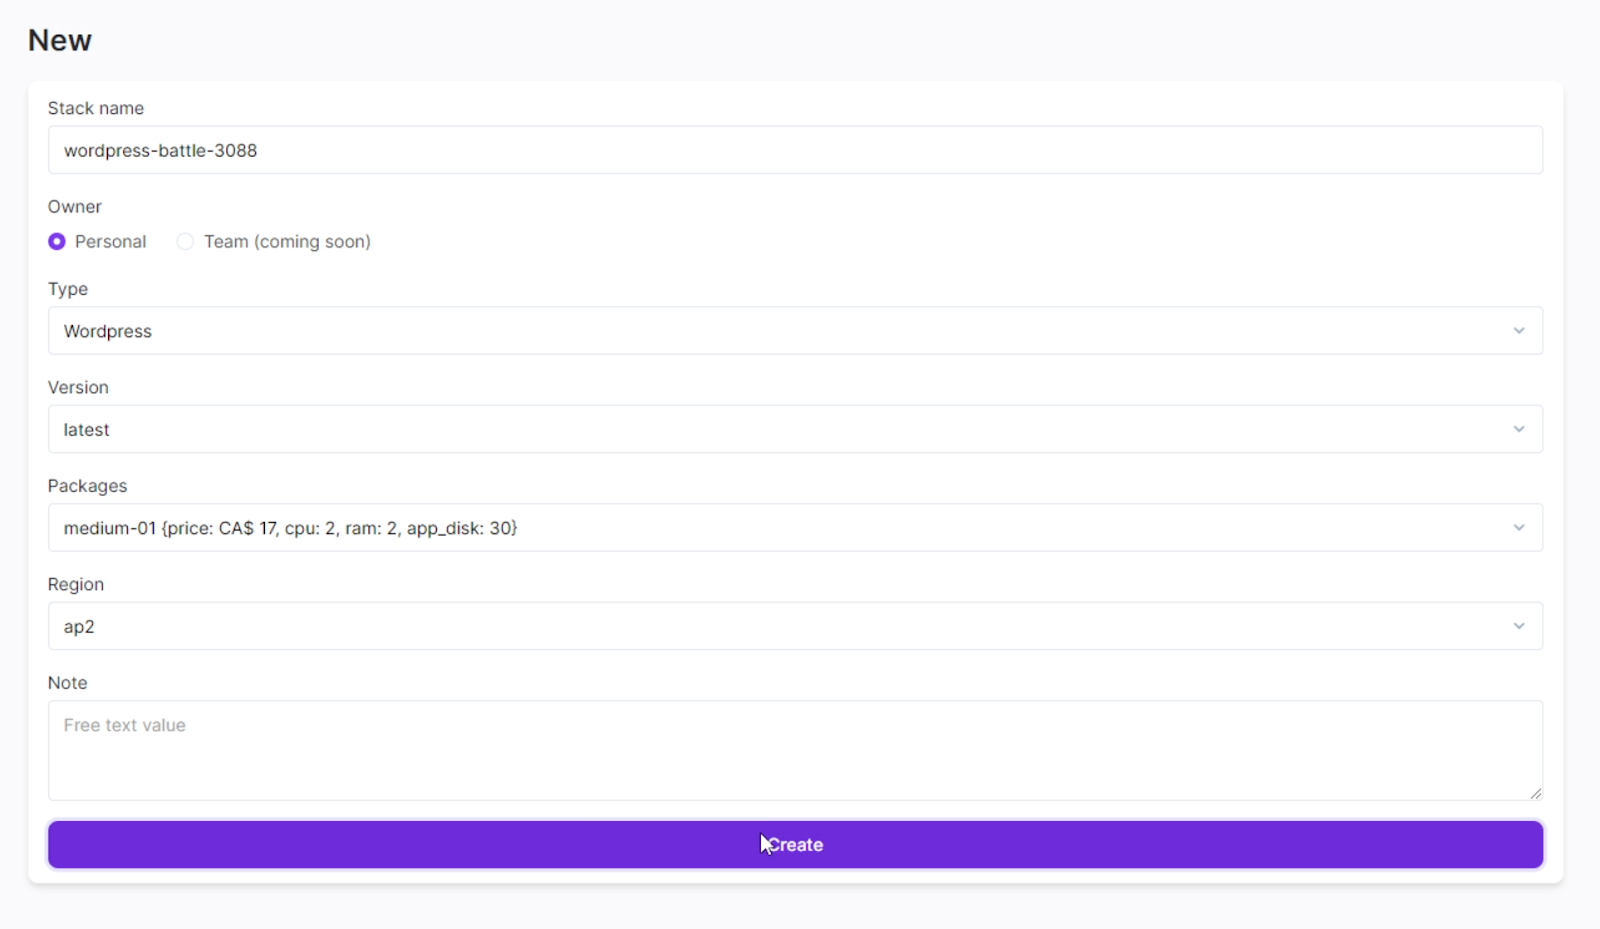
Then, click the Create button
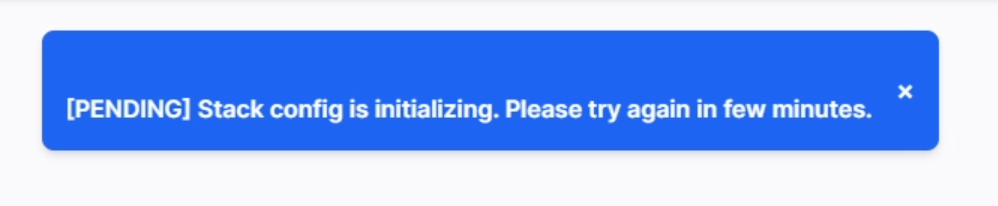
You will receive a message as shown in the image, which is a sign that your Stack is being created. Please wait about 5 minutes before moving on to the next step!
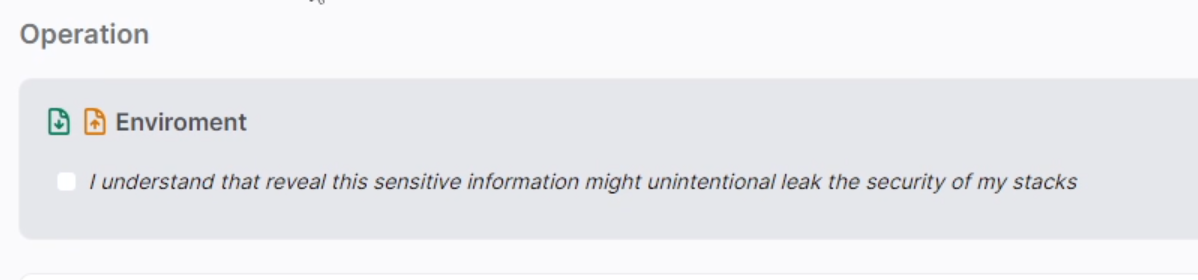
Step 3: Check the stack information
Click the box below to check your stack details.Please be aware that the information below is quite sensitive, consider carefully before allowing someone other than you to have this information!
Step 4: Setup domain
Scroll back to the top of the page and find the"Domain" button and click.

The interface will switch back to the WordPress interface, and you just need to set up like a normal WordPress site!
- Choose your language
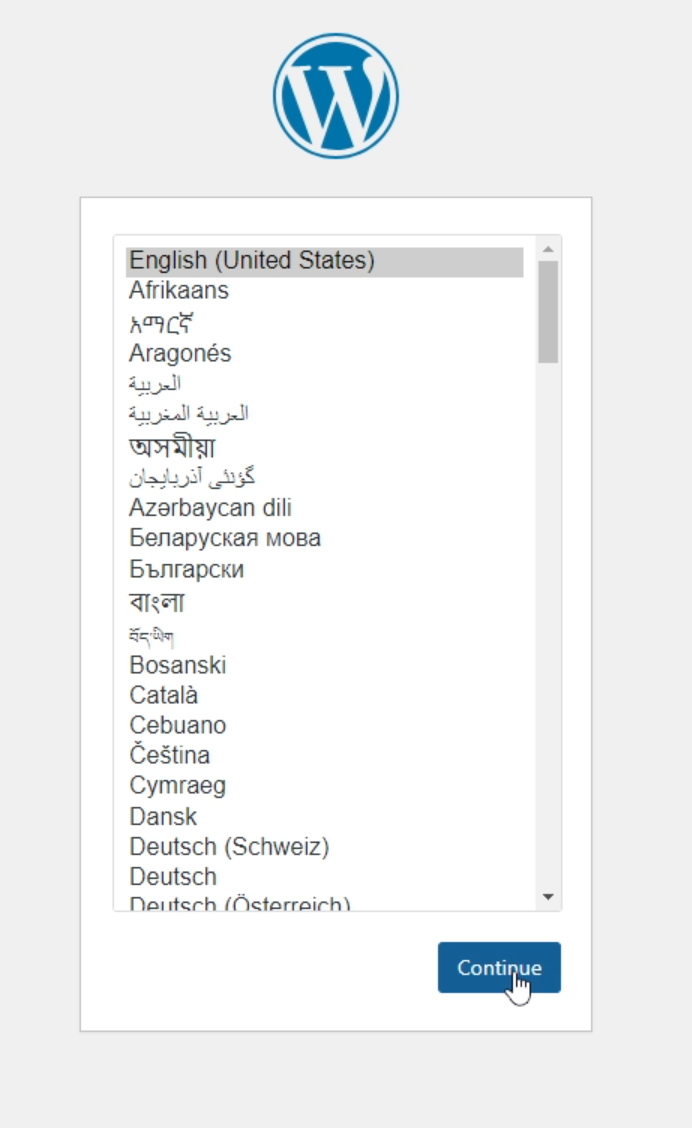
- Enter the basic information of the WordPress site you want
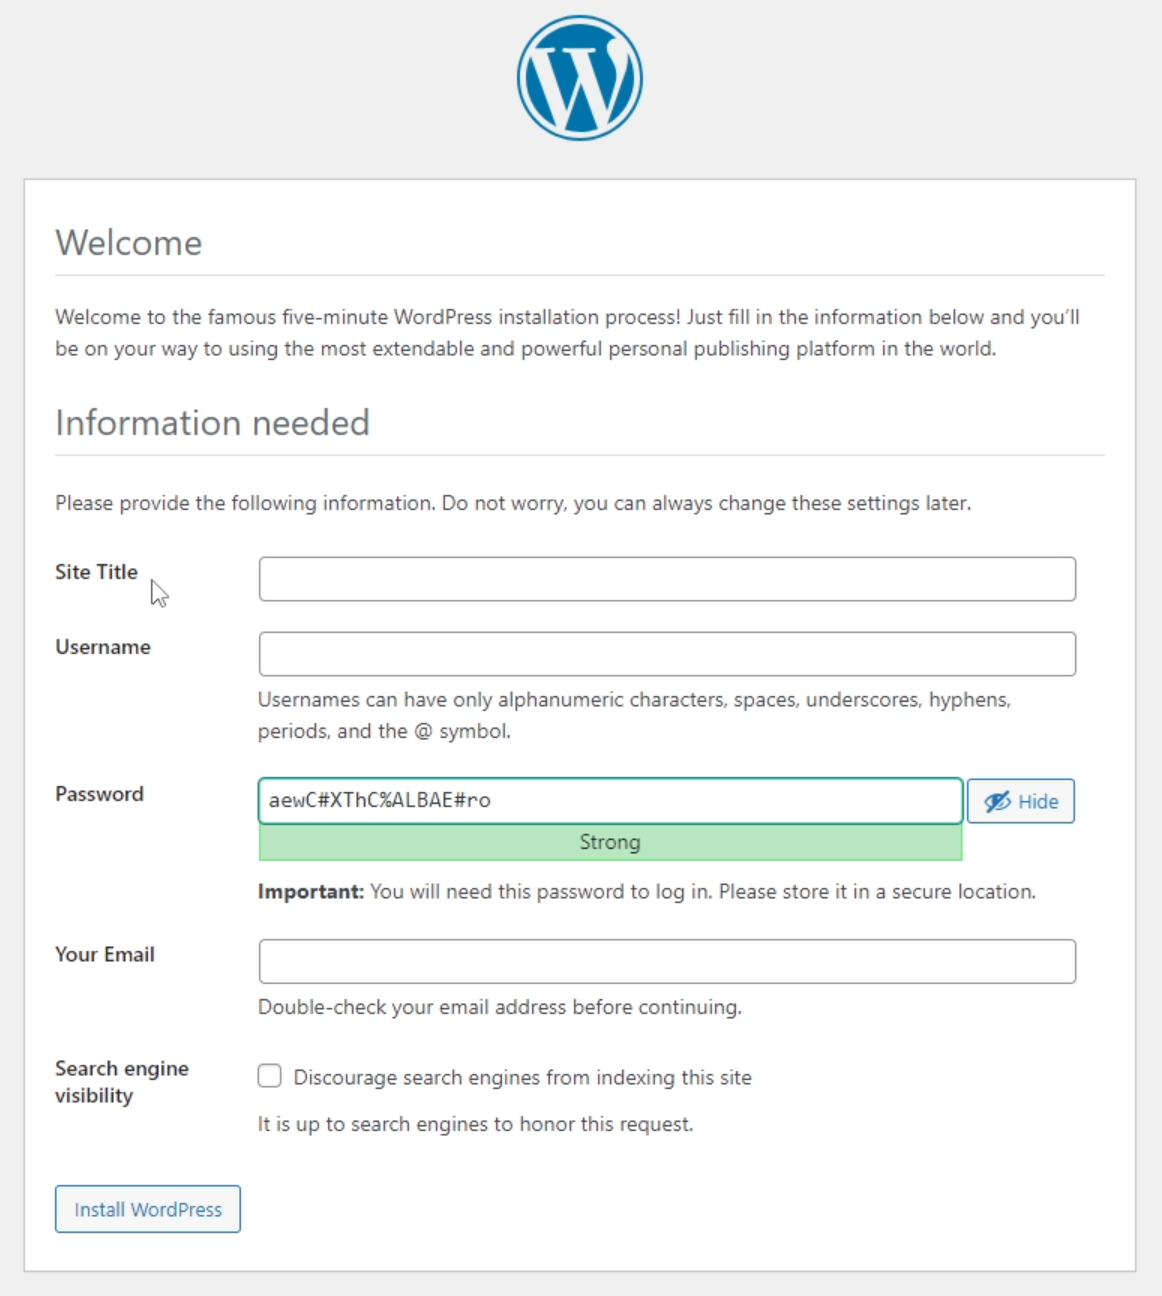
Note: Only select “Discourage search engines from indexing this site” when you do not need Google to help users find your website. You can change this in the website settings later.
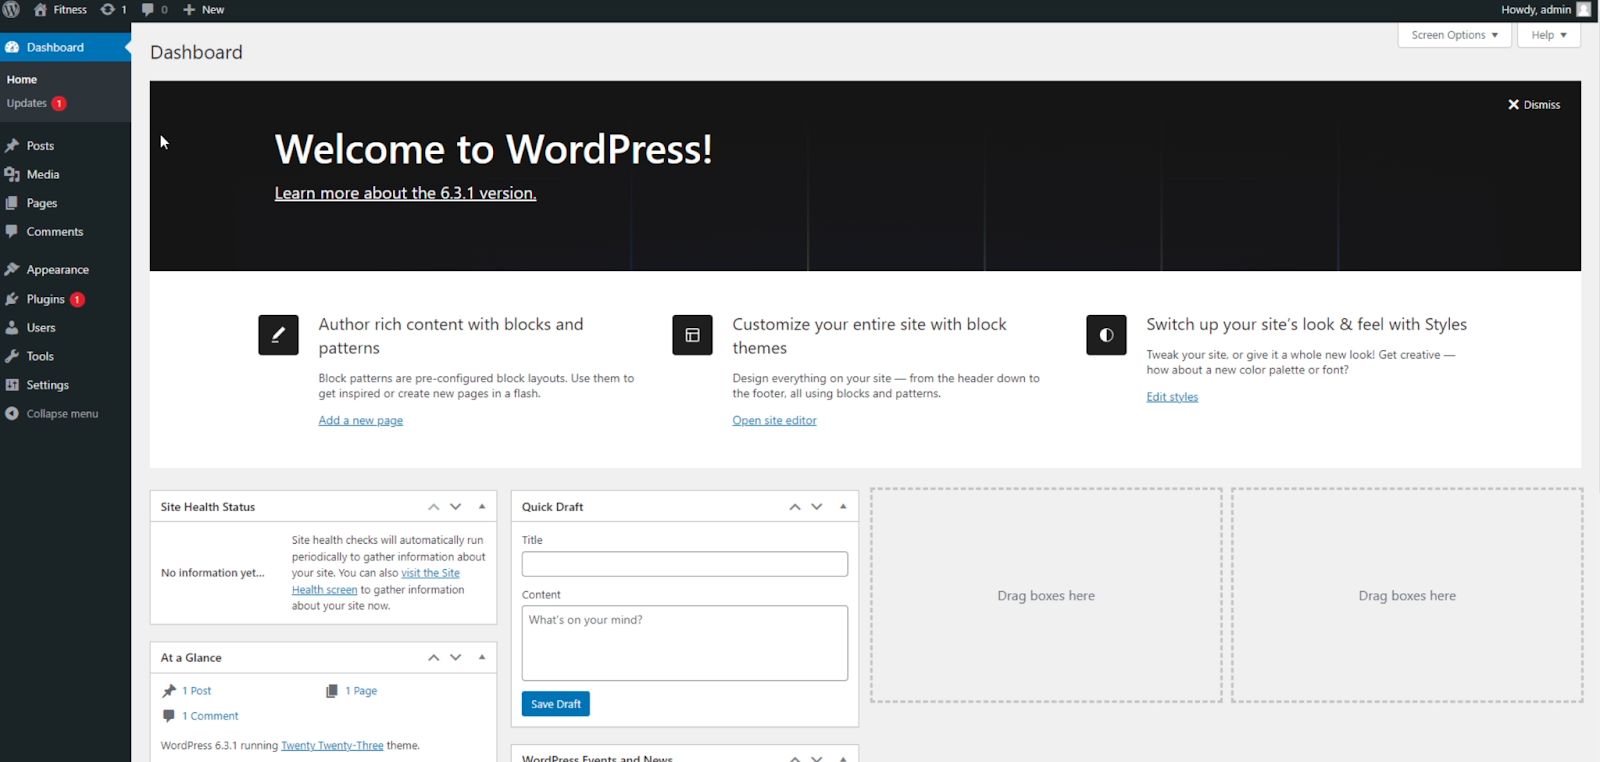
And… done! Your website has been successfully installed!
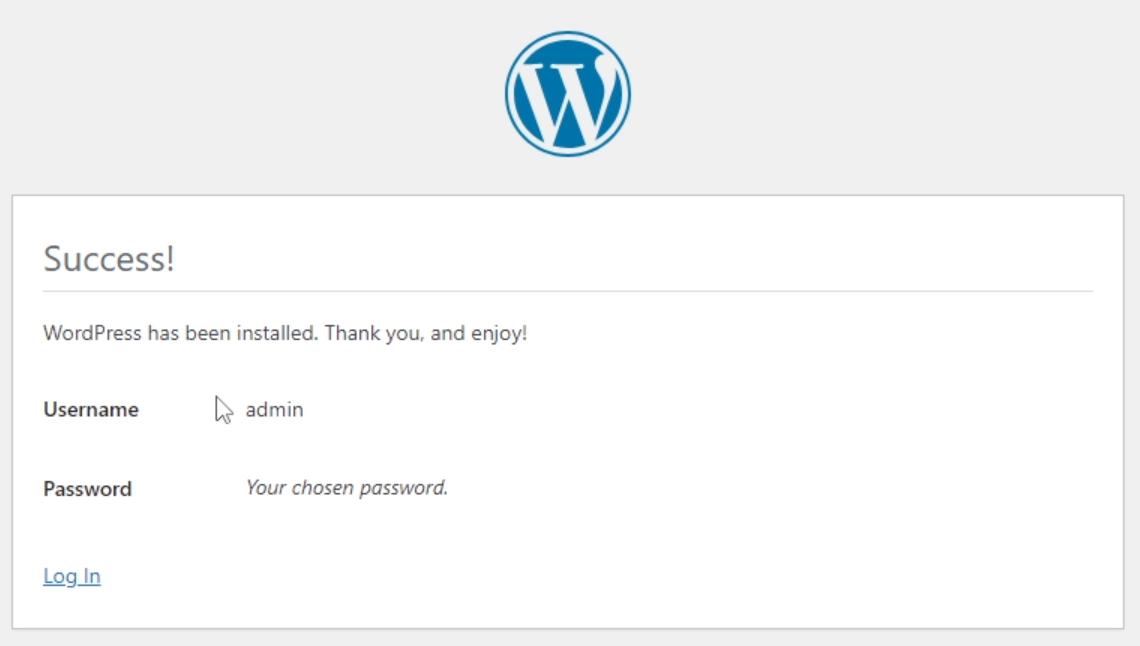
Click login to access your website administration page. Below is the interface of the WordPress site you just created. Let\'s start decorating your website and creating attractive content!